Growing chilis and peppers outdoors is fun! Not only are there a host of varieties, but they will also make spectacular houseplants come fall, as they will continue to produce in the house!
If you are already thinking of extending the harvest into the cold season by growing them indoors, the ideal is to grow them in a pot. Make sure that the container you choose is large enough to allow for good development of the root system and that it can contain a sufficient reserve of water and nutrients. Your plants will need it to thrive.
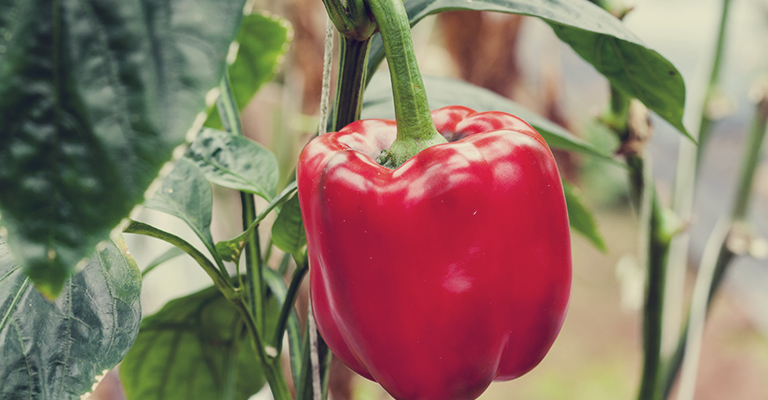
Peppers have long roots. You should choose a container that has a depth of 20 to 40 cm, or even more. Don't worry if your plant seems a little lost in its pot at first, it will only be temporary.
Also, make sure your container has drainage holes that allow excess water to drain away effectively.
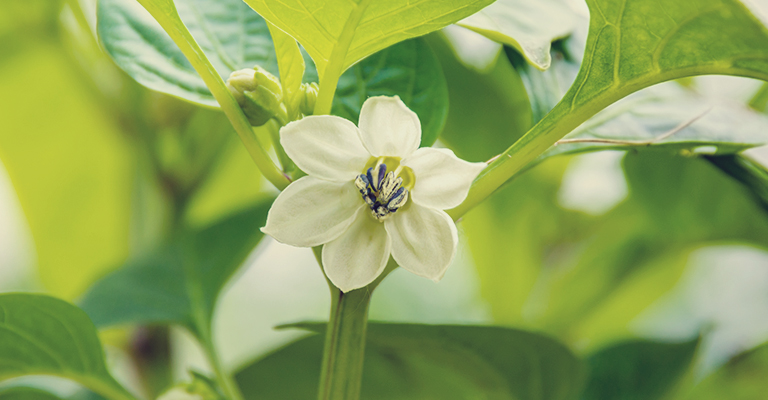
1. Choose your potting mix carefully
Fill your container with PRO-MIX Organic Vegetable and Herb Mix. These two mixtures provide superior aeration and facilitate root development, unlike heavy soil from your vegetable garden, which can sometimes compact and damage the roots.
2. Promote the development of a good root system
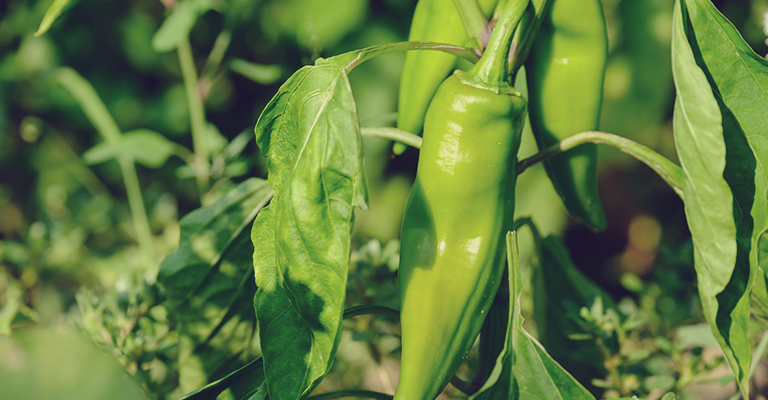
When planting, add the recommended amount of MYKE Vegetable & Herb to the mix, making sure that the mycorrhizae granules are in contact with the roots. They will help your plants develop their root system, reduce their need for water and make them more resistant to stresses.
OUR TIP: Bury the roots a little deeper to encourage the formation of additional roots. Your plant will be stronger and more vigorous.
3. How to fertilize chilis and peppers?
Chilis and peppers are nutrient-greedy, which is why it is important to regularly enrich their soil, especially with the addition of plant food. Use a soluble fertilizer as soon as the first flowers begin to bloom, being careful to follow the manufacturer's recommendations.
Avoid fertilizers that are too rich in nitrogen (first number) since nitrogen encourages the development of leaves to the detriment of fruits and vegetables.
If you find wilted leaves, remove them by cutting them to the main stem. You can also remove branches that will not bear fruit but do so sparingly so as not to reduce energy intake.
4. Keep your chilis’ soil warm
Chilis are particularly heat-loving, so we recommend adding dark-coloured mulch to the base of the plant. In addition to keeping the soil mix from drying out, it will help retain the heat accumulated during the day for the night. The mulch will also keep the roots warm once fall comes.
5. Water efficiently!

Once outside, your plants will often need to be watered as soon as temperatures reach 17 or 18 °C. The higher the temperature, the more water your peppers will need.
To find out if you need to water, insert your finger a few centimetres into the soil. If it is dry, water it! It is important to check deeper into the potting soil and not just its surface when checking the moisture level. Moisten the roots deeply and avoid getting water on the foliage.
6. Sun and heat
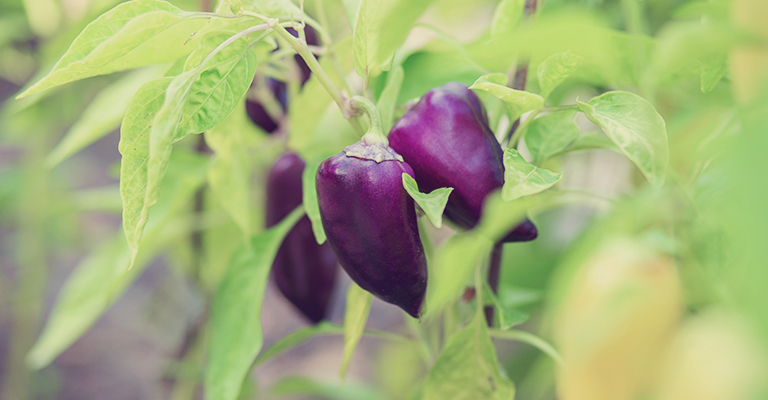
Your peppers will also need plenty of direct light, ideally six hours of sunlight per day. Containers placed on your deck or balcony have the advantage of being able to be moved to follow the sun… in addition to being easily accessible for watering!
7. Grow them sheltered from the wind
By placing your containers out of the wind, your chilis and peppers will benefit from the welcome protection that they don’t get in the vegetable garden. Don’t hesitate to install a stake for support when necessary, and upgrade it as your plant grows.
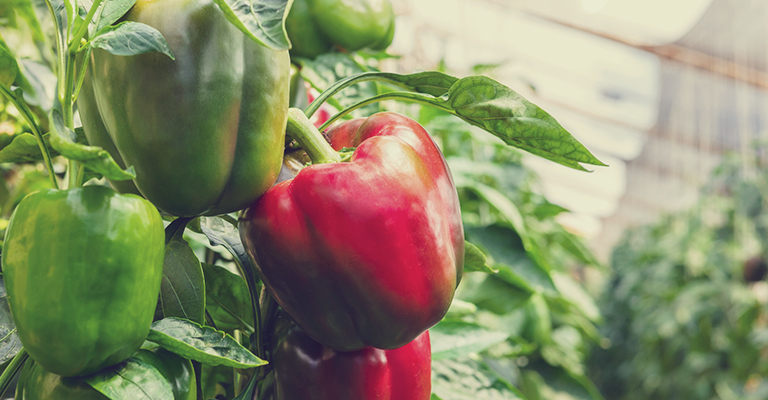
Harvesting takes place about 5 to 6 months after sowing. Although peppers can be harvested at any stage of their development, it is important to wait until they have stopped growing before picking them.
It may be worth mentioning that green-coloured peppers are simply fruits that have not yet ripened. So, a red and a green can be of the same variety. They are simply at different stages of maturity. Same phenomenon for hot peppers.
If you pick the fruits while they are still green, the ripening process will be interrupted, and they will not change colour afterwards. They will have a crispier texture and a more tangy flavour. Harvesting them at this stage of maturity has the advantage of encouraging the plant to produce more.
If you pick the fruit when it has started to change colour, it will continue to ripen and colour when harvested, but not as much as a tomato would.
Store fruits that have started to change colour at a temperature of 20 °C or higher. Do not put them in the refrigerator. Exposure to cold, even briefly, would have the effect of permanently interrupting the ripening process.
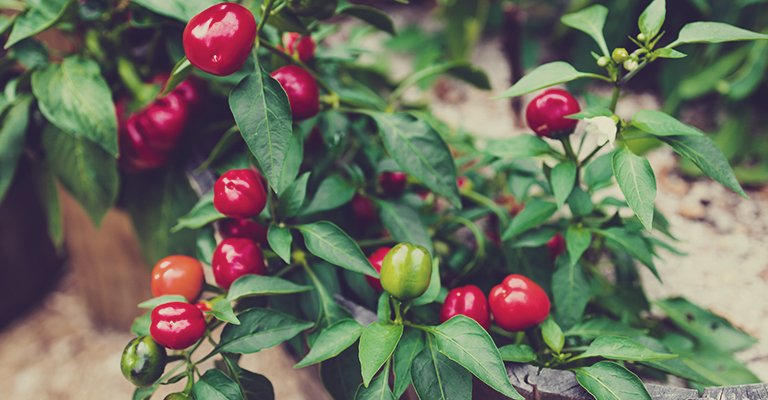
Chilis and peppers do not like the cold. When fall comes, you have to bring them into the house. Even if the colder weather does not immediately affect the plant, it will interrupt the development of the plant, flowers and fruits as soon as the temperatures drop below 13 °C during the night.
By bringing in your plants in time, the fruits that have started to colour will be able to ripen, and those that are still green will mature if given favourable conditions. Just as you do with a houseplant that has spent the summer outdoors, spray the pepper plants with an insecticidal soap before bringing them into the house.
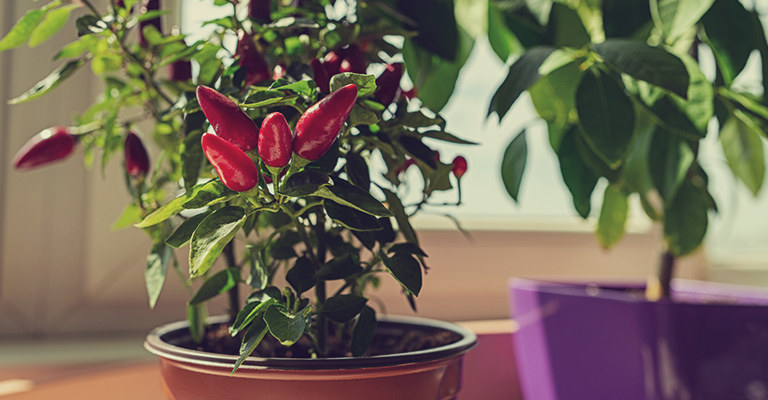
You might be surprised to learn that a pepper plant, kept warm during the cold season, can easily live for years. From a frail cultivar sensitive to the slightest wind, it will even become, over time, a plant with a robust trunk.
So, even if you live in a small apartment, you can easily grow your peppers there all year round. To do this, you need to provide certain conditions, essential to the health of your new protégés. These conditions are not really different from those you offer in the garden.
Offer them…
Although not necessary, hand pollination (which is done simply by rubbing the flowers with a small brush) can promote a more abundant harvest.
OUR FAVOURITE: The Numex Twilight pepper, which bears red, yellow, purple and black fruits on the same plant. It will give an unparalleled touch of colour in the house!
Picking chilis and peppers by cutting the stem with pruners promotes better storage. Want to keep them longer? You can dry them in the sun or in the oven, freeze them, marinate them, can them…
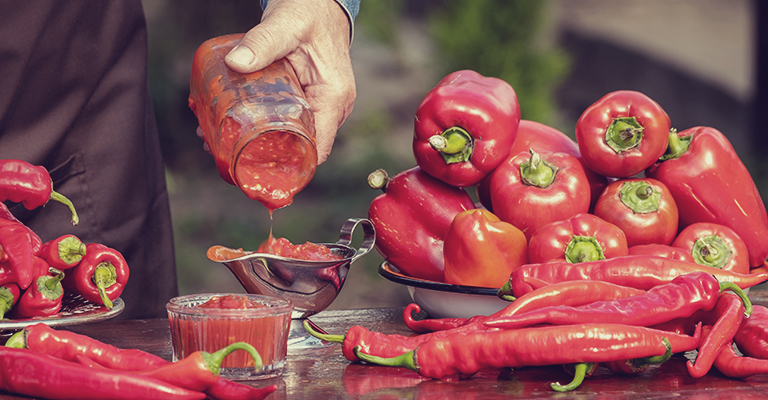
Try our diligence pepper recipe!
Ingredients
9 green peppers
9 red peppers
6 large onions
1 cabbage
½ cup coarse salt
5 cups of sugar
Vinegar to cover
¾ cup mustard seeds
1 tbsp. celery seeds
Preparation
Finely chop the vegetables and add the coarse salt. Place the mixture in a sieve covered with cheesecloth over a deep container and let it drain overnight.
The next day, put the mixture in a pot and cover with white vinegar. Add the rest of the ingredients, then mix. Heat on the stove until the sugar has melted, but no more. The mixture should not boil or cook. While the mixture is still hot, pour it into small, sterilized Mason jars and seal tightly.
Wait two weeks before consuming to allow time for the flavours to blend. If you want to store pickles at room temperature, be sure to follow the canning steps correctly. Otherwise, keep them in the refrigerator and consume them within a month.
For some zesty facts about chilis and peppers, and to learn how to test your tolerance, read our article 6 Questions About Chilis and Peppers.
Subscribe to our newsletter to receive our gardening tips, news and more directly in your inbox! Fill in the form below. Please note that fields with an * are required.